


| Availability: | In stock |
| Delivery time: | In Stock |
Enhancing contrast
Light pollution suppression (LPS) filters are designed to suppress the common emission lines generated by artificial lighting, yet allow the important nebula emission lines to pass, thus enhancing the contrast of astronomical objects, particularly emission nebulae.
IDAS filters are developed for astrophotography
Unlike other light pollution suppression filters, IDAS filters are specifically designed for balanced color transmission using the IDAS unique Multi-Bandpass Technology (MBT) process. The balanced transmission allows color photographs to be taken with minimal color cast to broadband emission objects such as stars, galaxies and globular clusters. The comparison photos at right demonstrate (qualitatively) that the IDAS filter maintains better color balance than other filters which have been designed for visual use.
CCD imaging can also benefit, because although CCD imagers can already shoot through light pollution to some extent, including an LPS filter to the setup gives an added (signal-to-noise) edge.
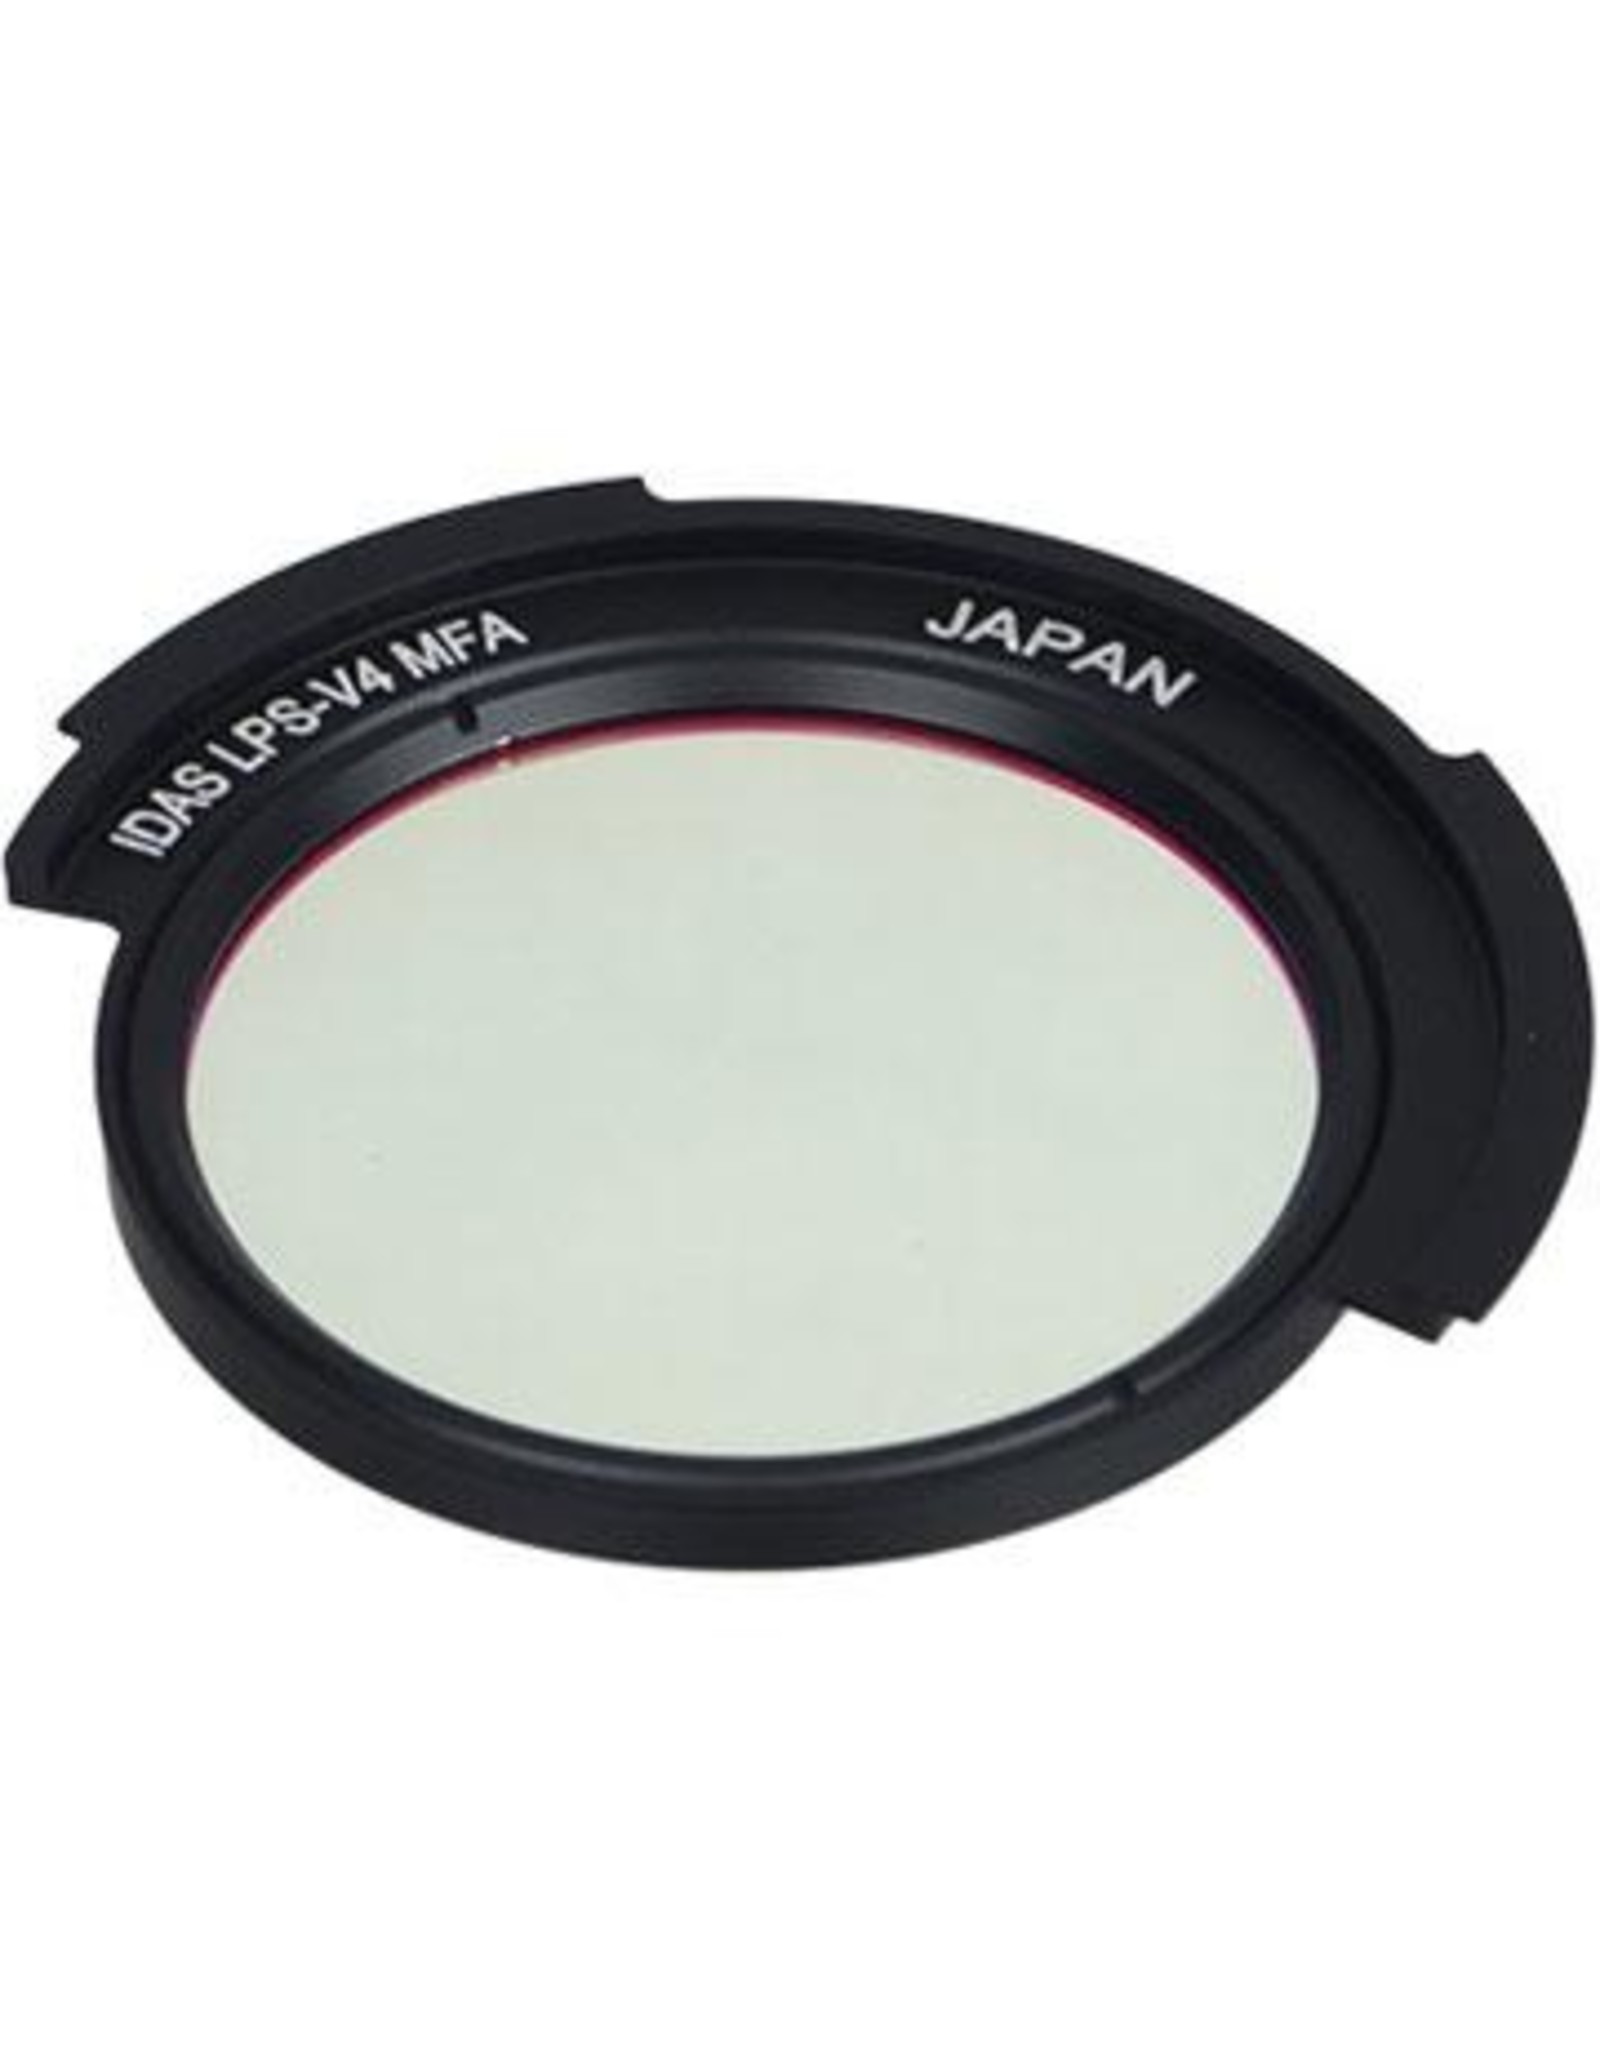
Main characteristics of the IDAS LPS V4 nebula filter:
♦ Especially designed for DSLR and single-shot CCD colour cameras
♦ High quality anti-reflective coatings
♦ Scratch-proof
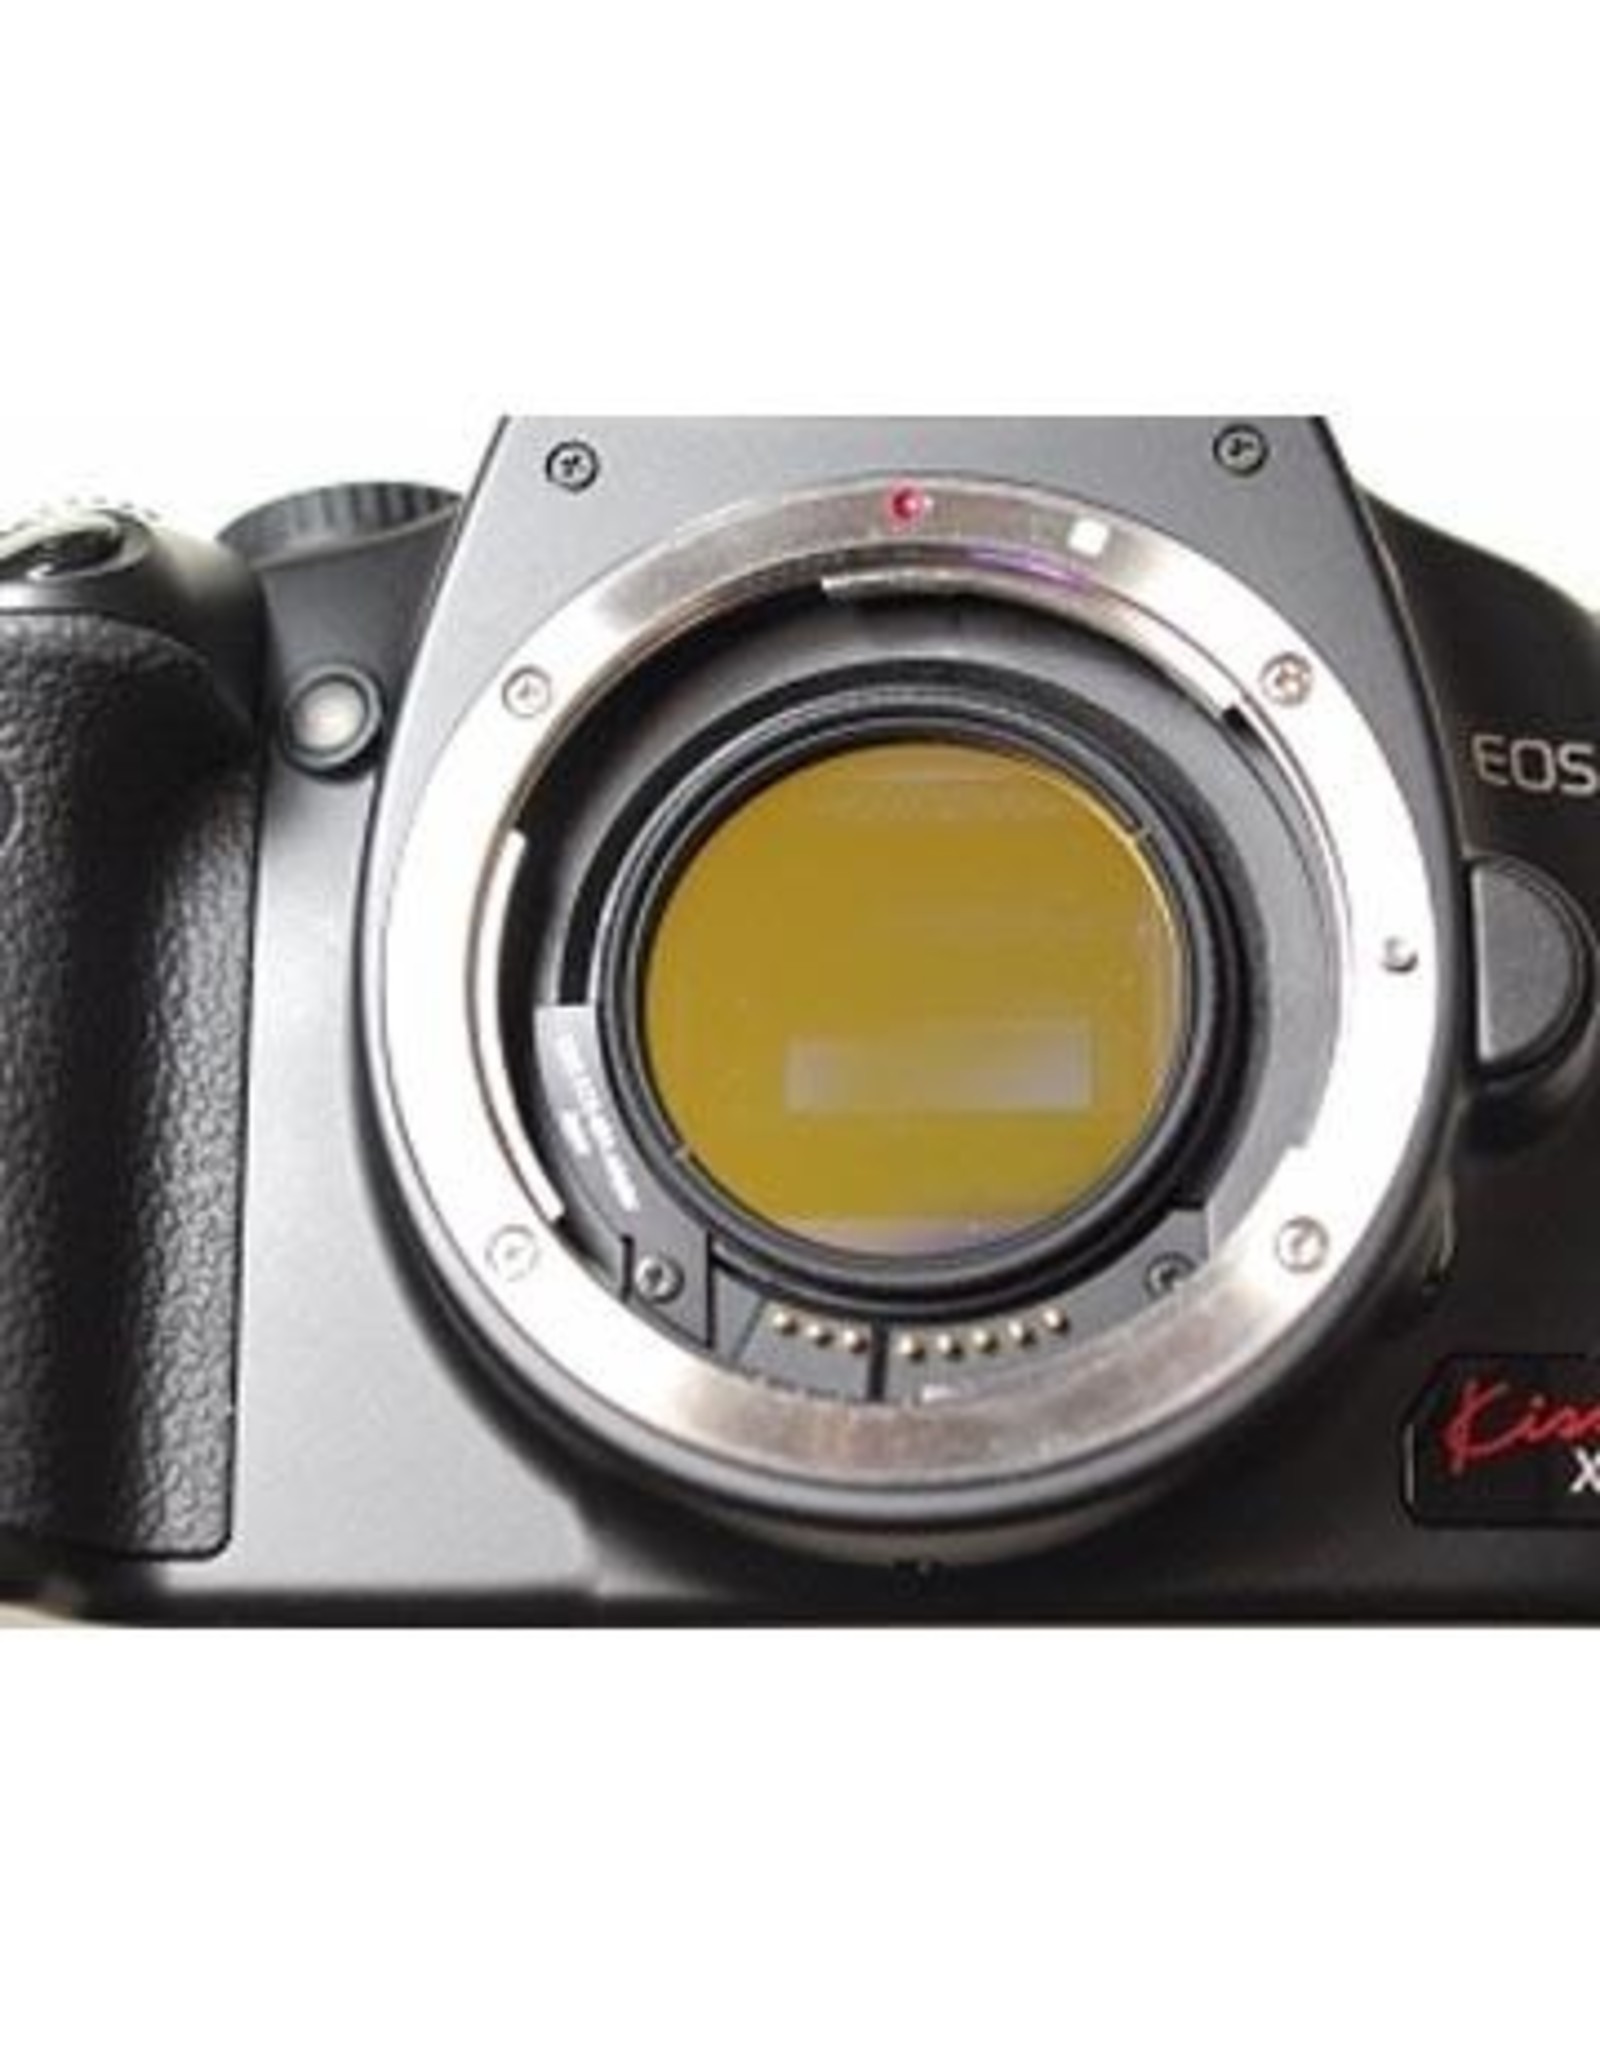
No optical path length needed:
Correctors or flatteners casn be used as before. Use many telephoto lenses without focusing complications. Additionally, the sensor chip is protected against dust.
This filter is integrated into the camera body.
Camera body front filters are mounted in a holder which is loosely placed between the camera´s lens bayonet and the viewing mirror, so they may be quickly and easily inserted or removed from the camera body as required by the user. They are locked by the lens or the telescope adapter.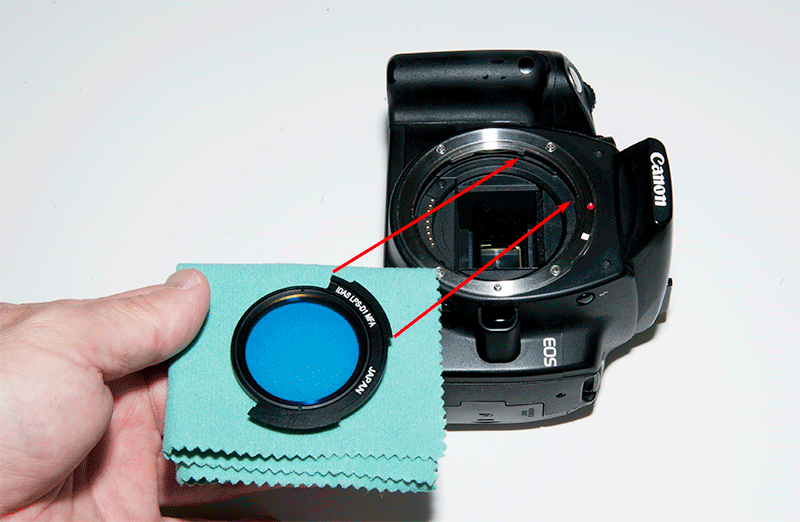 Filter Insertion:
1. Align the filter carrier flanges with the gaps in the Canon bayonet flanges. Note that the side profile of the filter carrier should protrude downwards to match the slight depression in the Canon body.
2. Gently place the filter into the Canon body cavity where it should sit loosely.
3. Rotate the filter counter-clockwise so that the filter and body flanges line up (not all the way to the end of travel). The filter is still loosely sitting in the cavity in the Canon body but because the flanges are aligned, the filter cannot easily fall out if the body is tilted.
4. Mount the telescope adapter or lens into the Canon body and rotate it clockwise to lock both the filter and adapter/lens in place. If possible, keep the camera body horizontal while attaching it to the lens or telescope to minimize the possibility of the filter shifting before it is locked into place. Filter Removal:
1. Remove the lens or telescope adapter in the normal way for a Canon body, taking care to to keep the body in a nearly horizontal position to prevent the filter from shifting as it loosens. After the lens or adapter has been removed, the MFA will be sitting loosely in the Canon body.
2. Rotate the MFA so that the filter flanges line up with the gaps in the Canon bayonet mount.
3. Place a soft, lint-free cloth across the mouth of the Canon mount and tilt the body and cloth until the filter drops onto the cloth.
Available for:
For selected enhanced-spectrum digital cameras, camera body front filters are available for quick field modification of the camera´s spectral response. Camera bodies for which front-filters are available are:
Canon Rebel (300D), Rebel XT (350D), XTi (400D), XSi (450D), Rebel T2i (550D), Rebel T3i (600D), Rebel T4i (650D), Rebel T5i (700D), XS(1000D), 1100D, T1i(500D), 20D, 30D, 40D, 50D, 60D, 70D and 7D
Not compatible with Canon EF-S lenses!
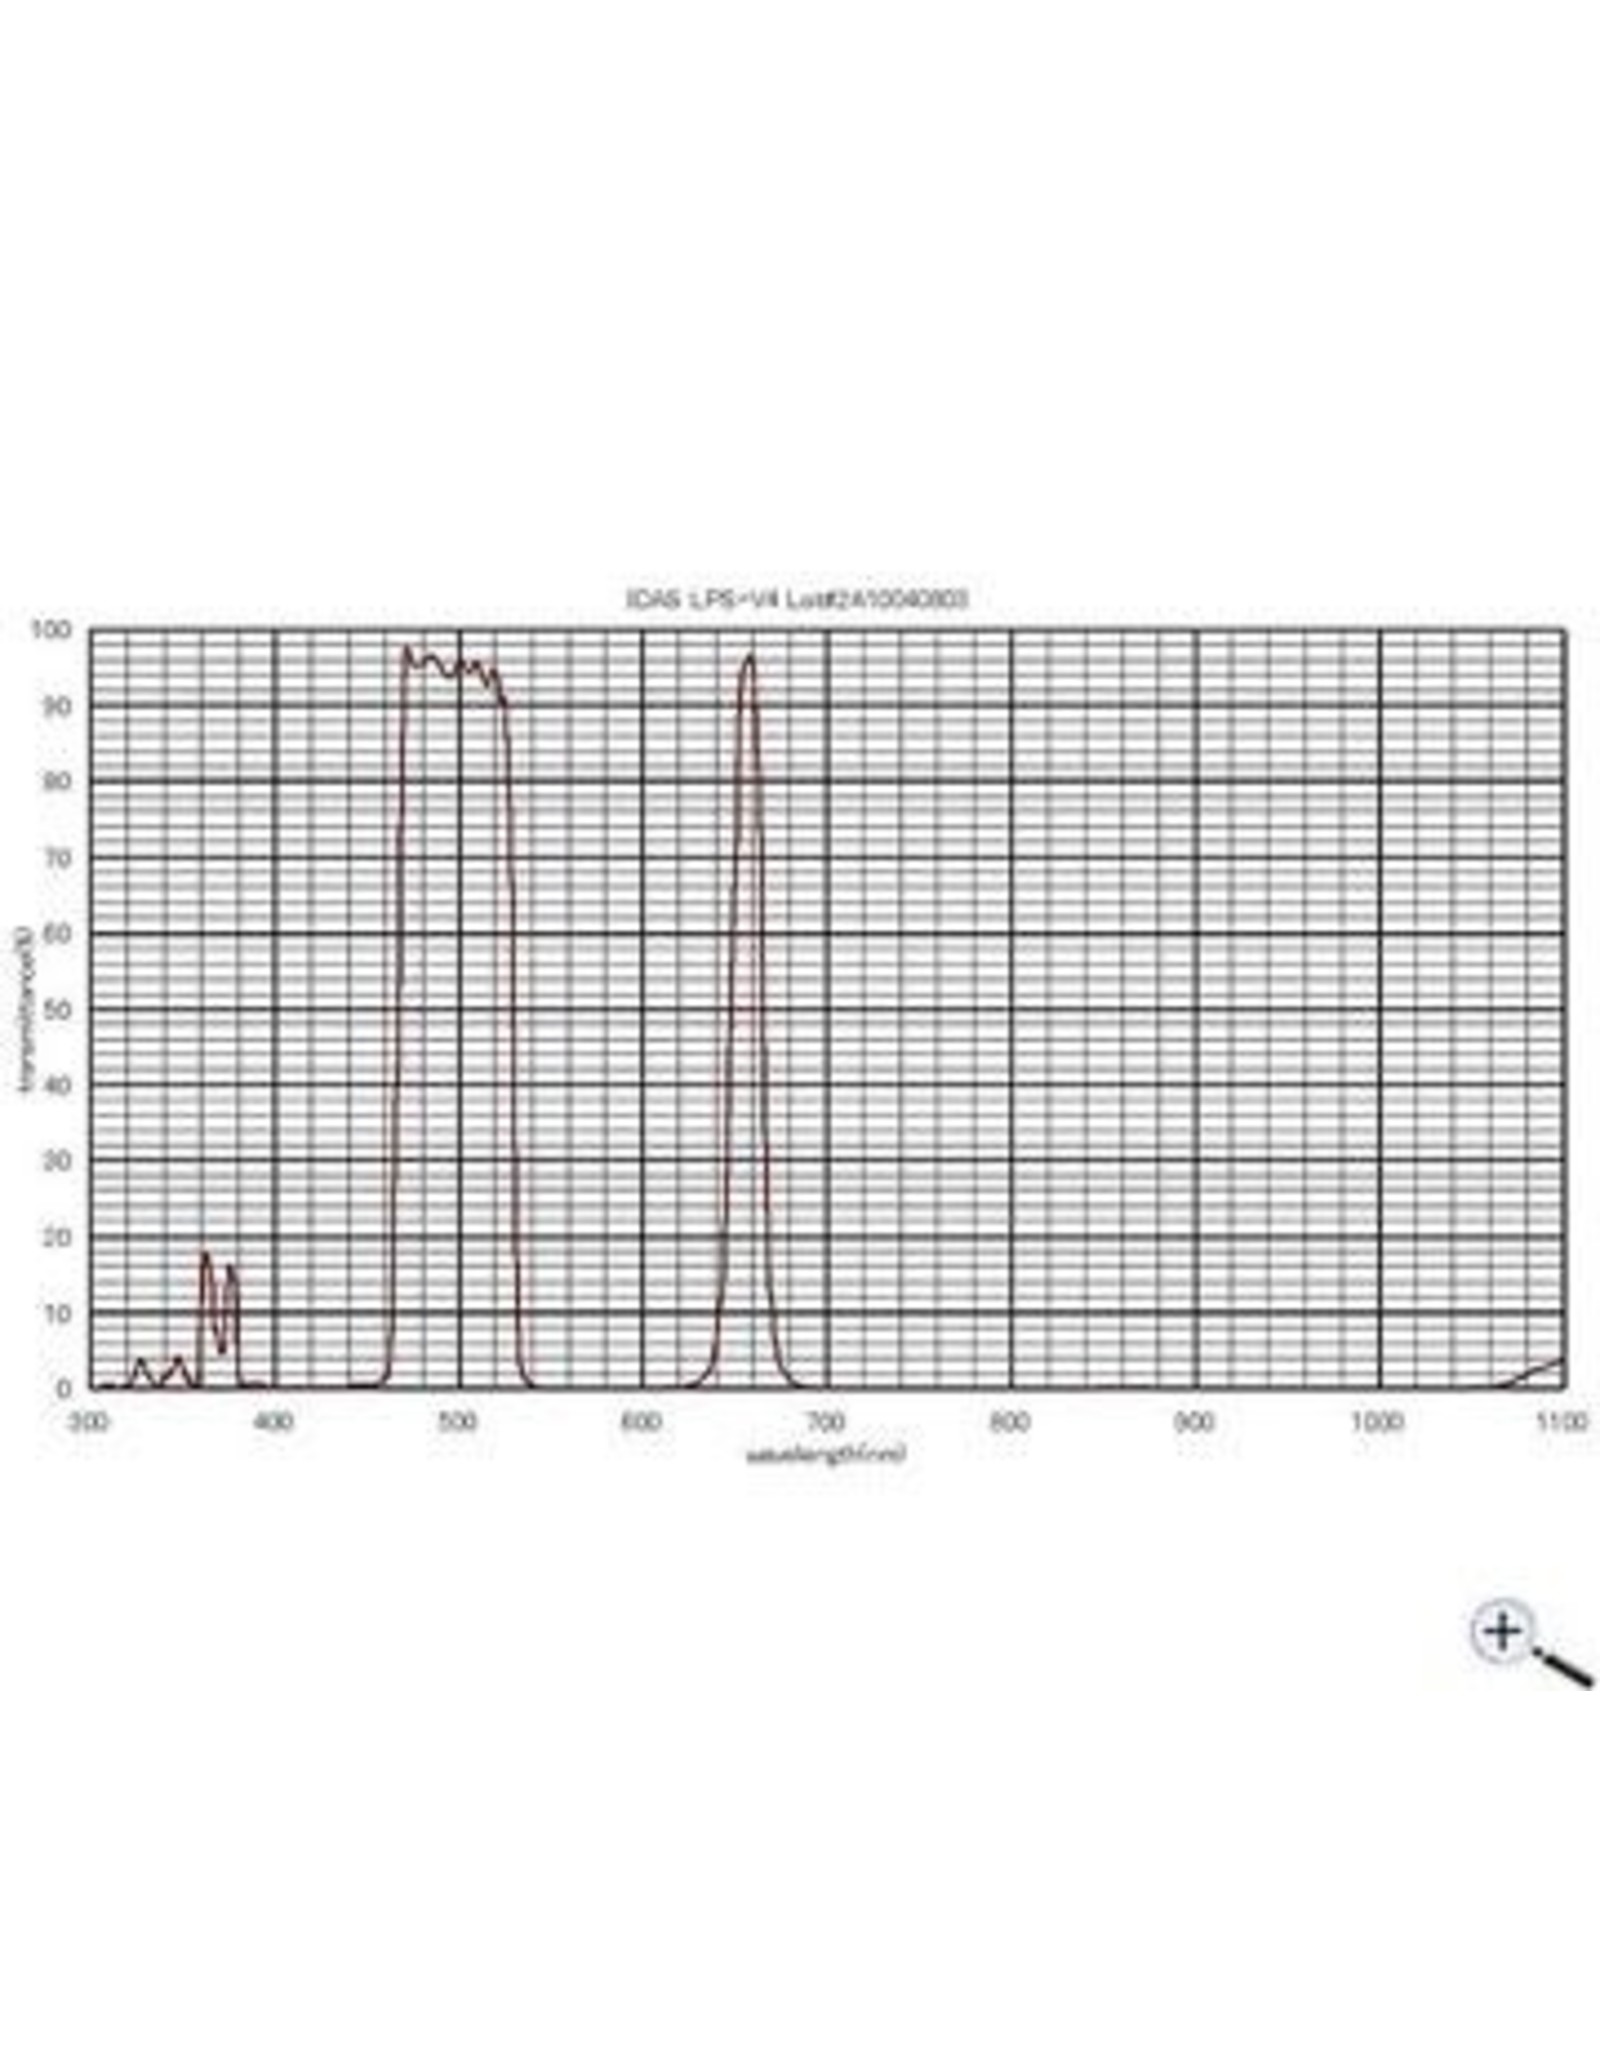
Transmission curve of the LPS-V4 filter:![]()