")
")
")
")
")
")
| Article number: | HG-PSTBP |
| Availability: | In stock |
| Delivery time: | Hurry! Buy Now before it is GONE! |
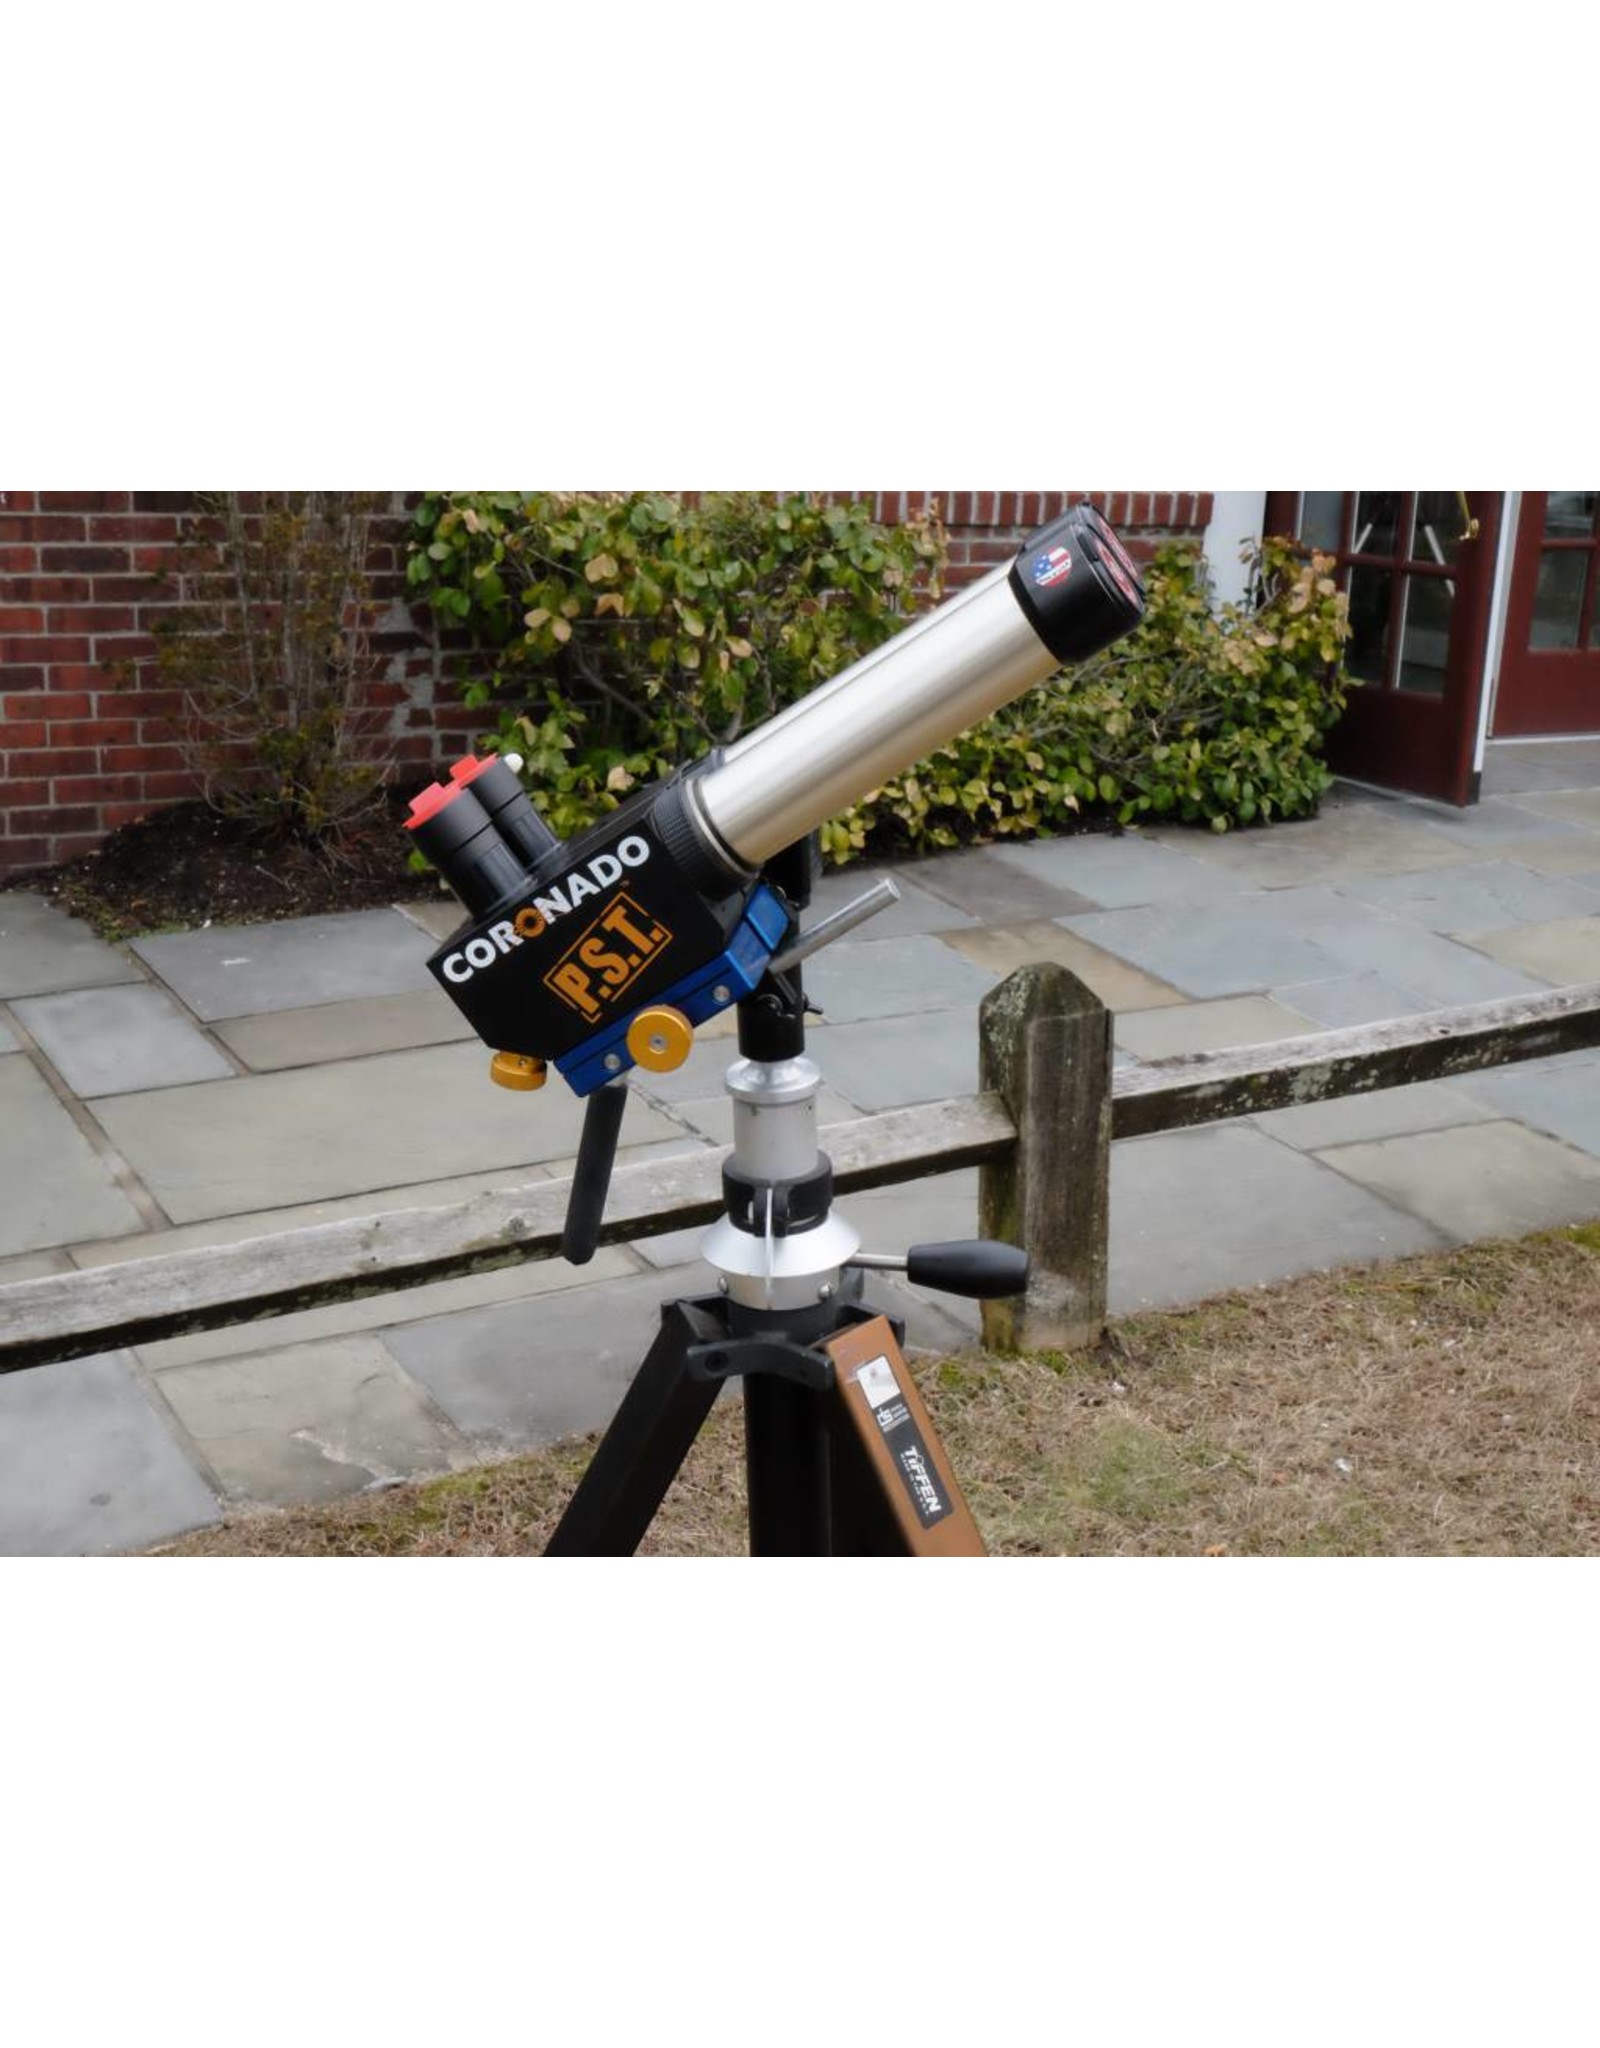
Solar scopes and tripod are not included
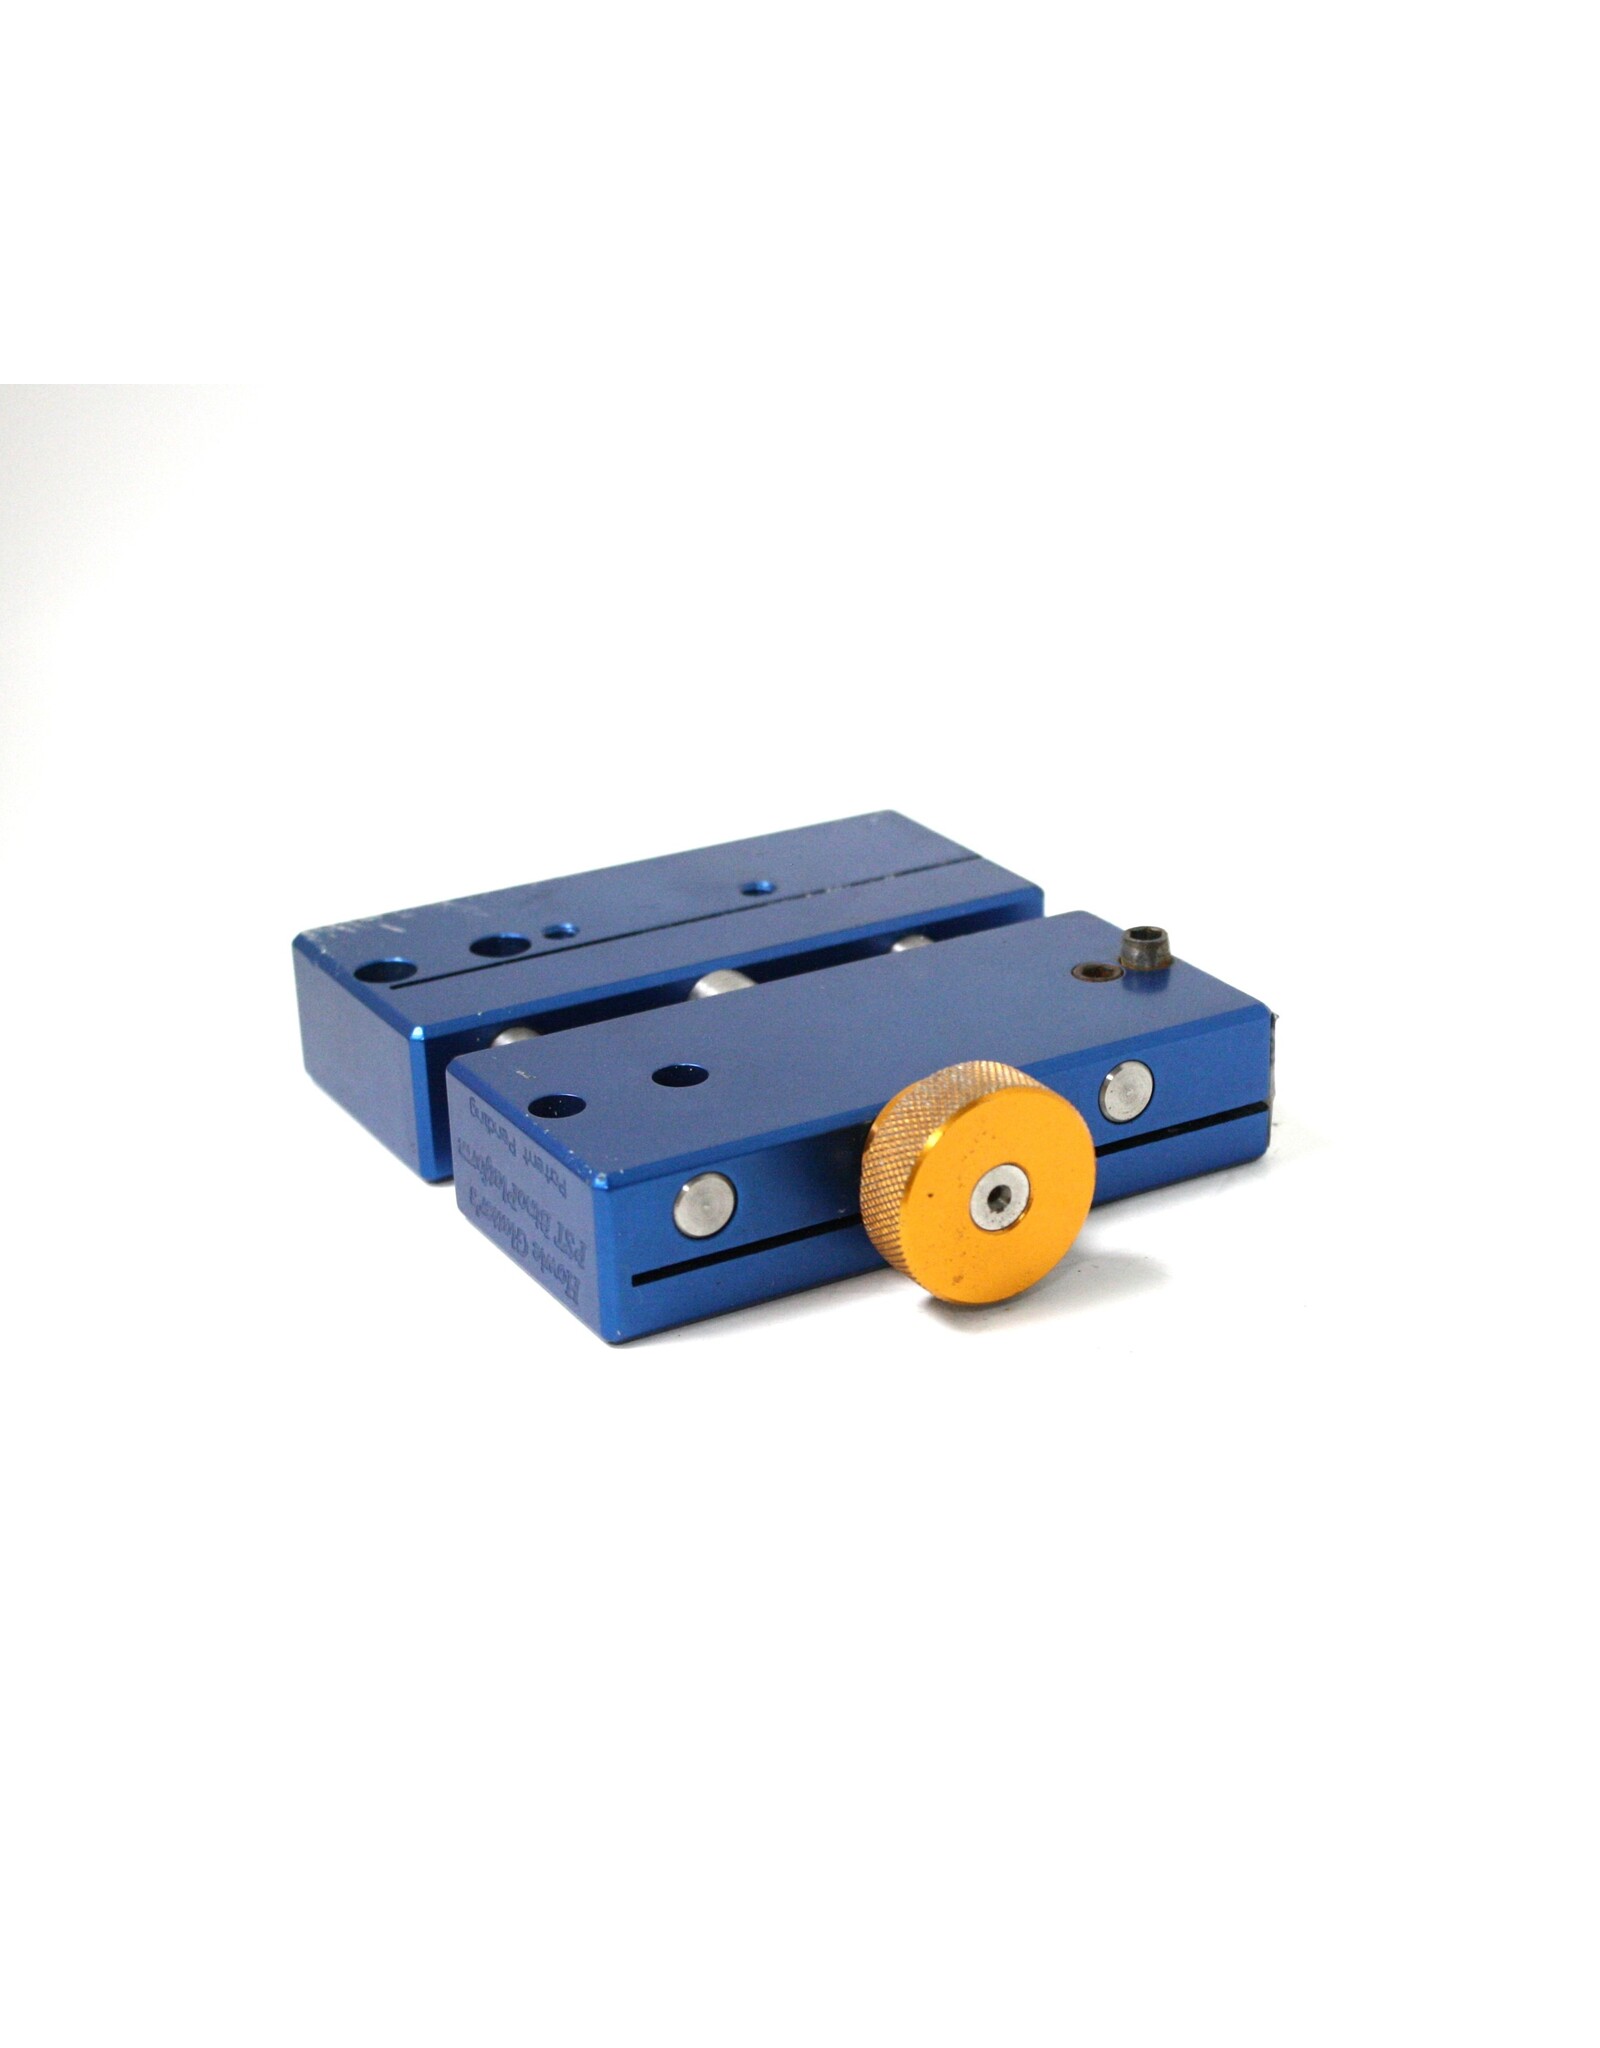
We are very pleased to offer this unique and wonderful product from the creative mind of the late Howie Glatter. Although we have a very limited number of these marvelous platforms available, there is the possibility that we will be able to continue production of this accessory that truly has no equal in the marketplace. A number of people have asked us about the availability of these platforms and we are now able to offer up only 6 of these units for sale. Here is a copy of the original instructions as written by Howie.
Howie Glatter’s Binocular Platform Instructions
©2010
Setting up the mount, binocular platform, and telescopes
So far, the binocular platform has been used with Coronado PSTs and modified Lunt LS35Ts.
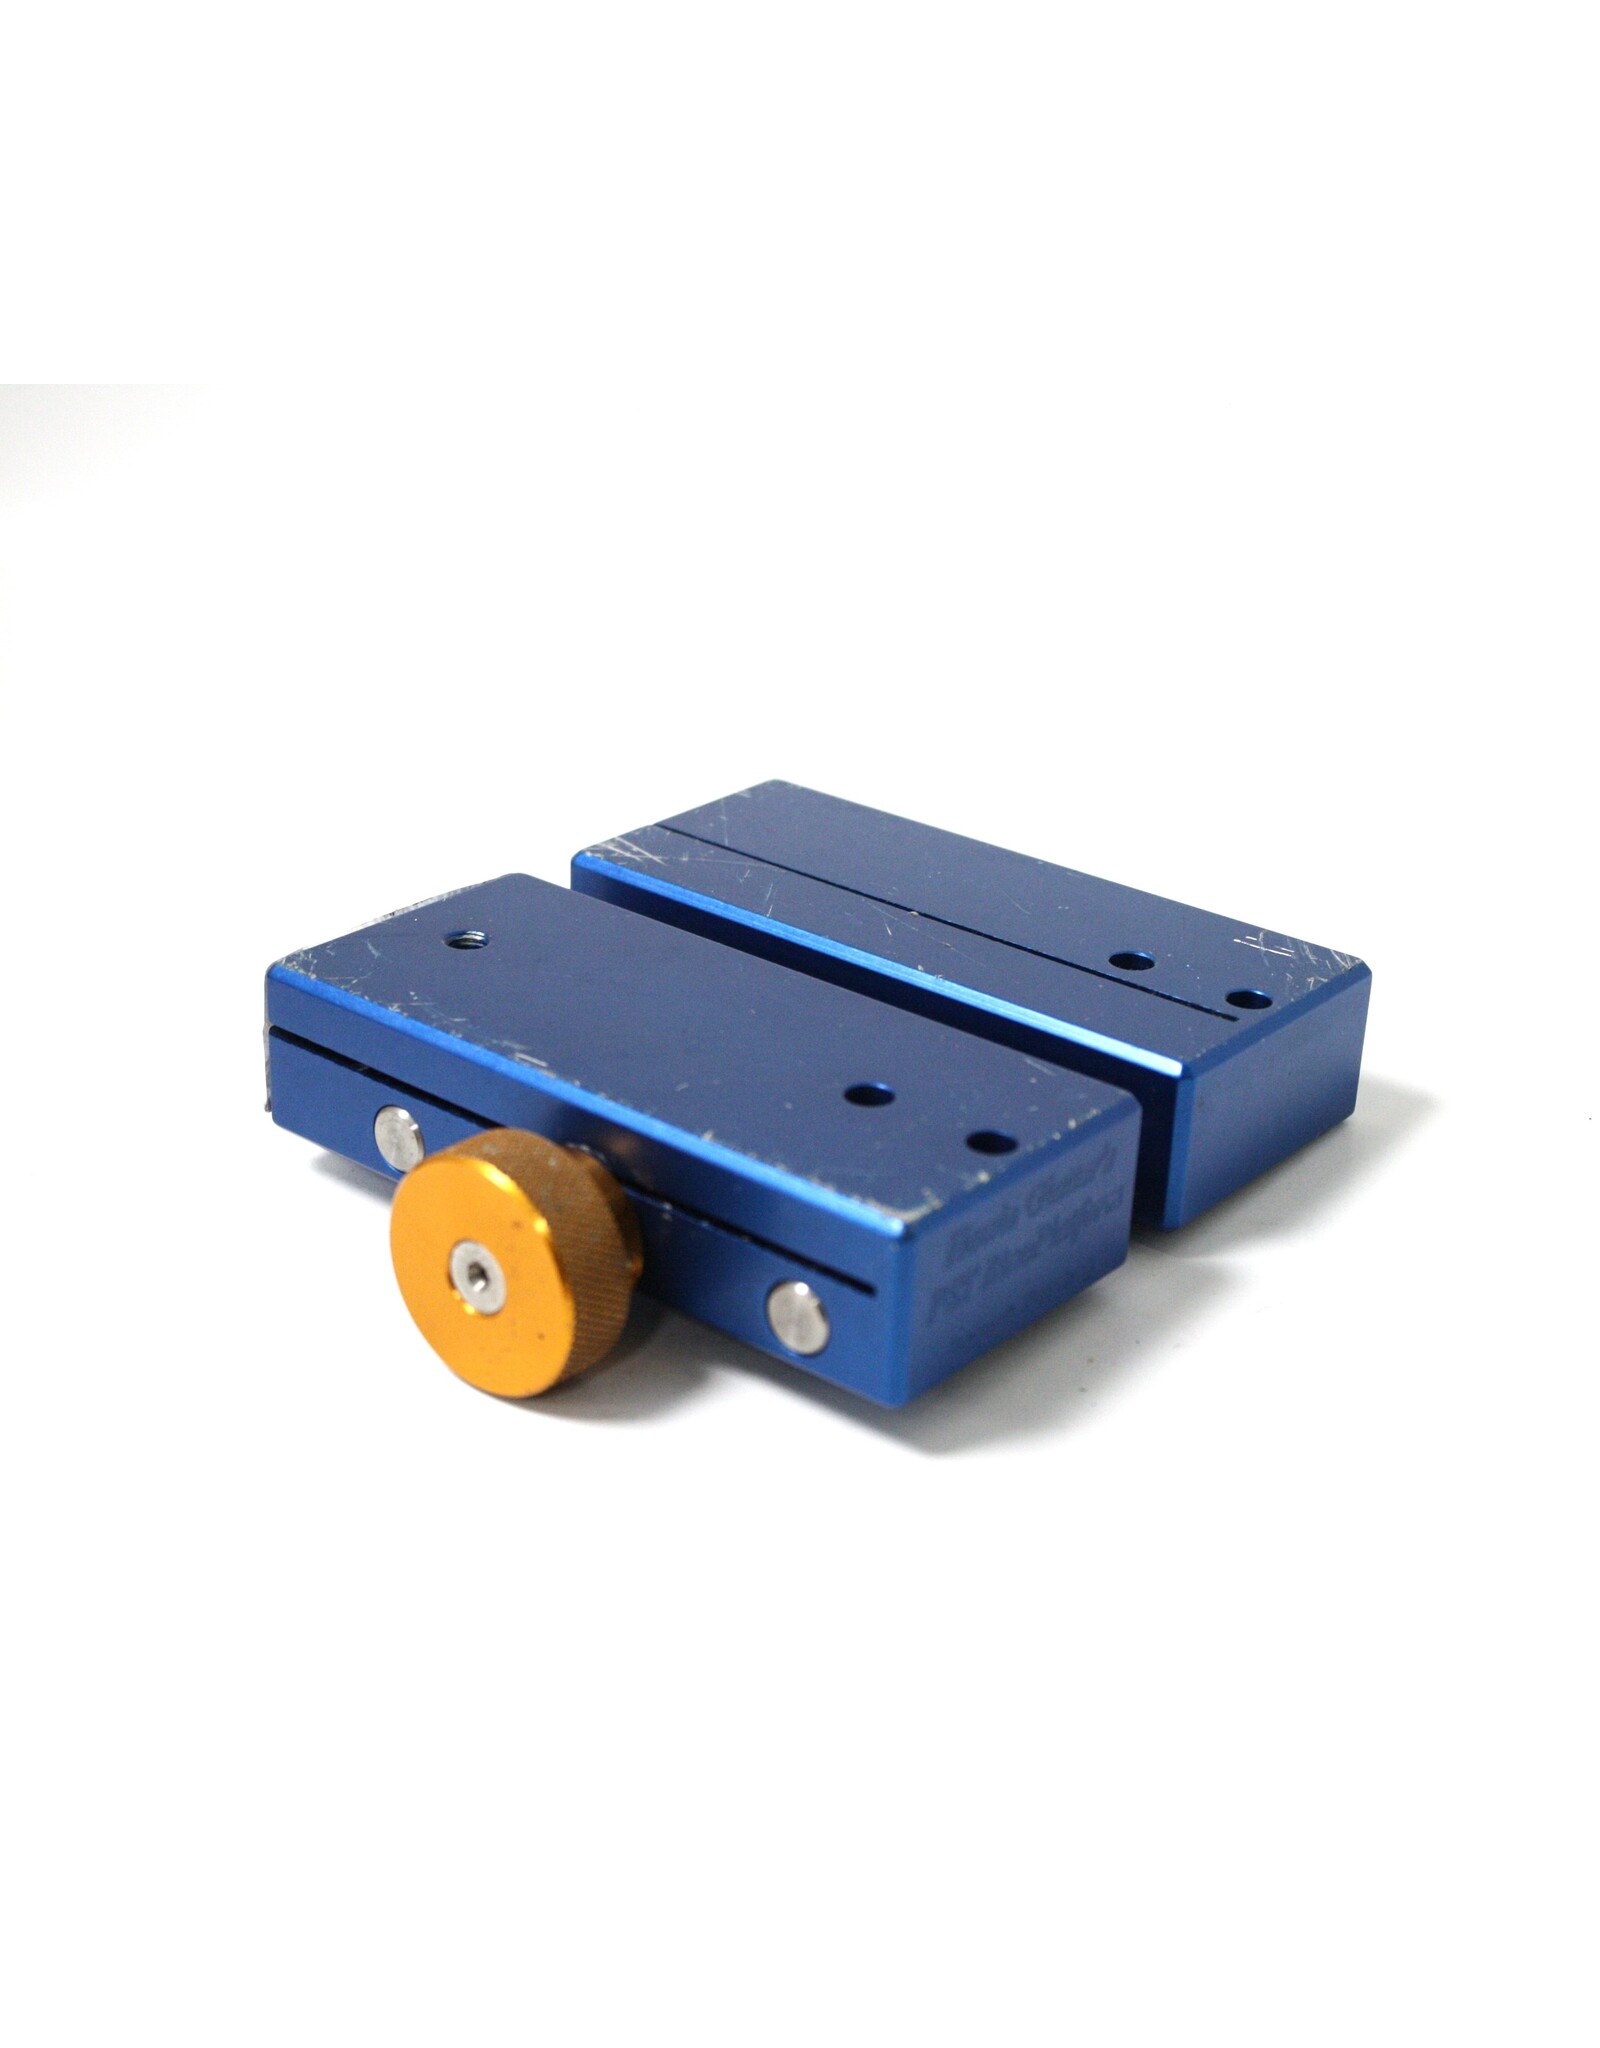
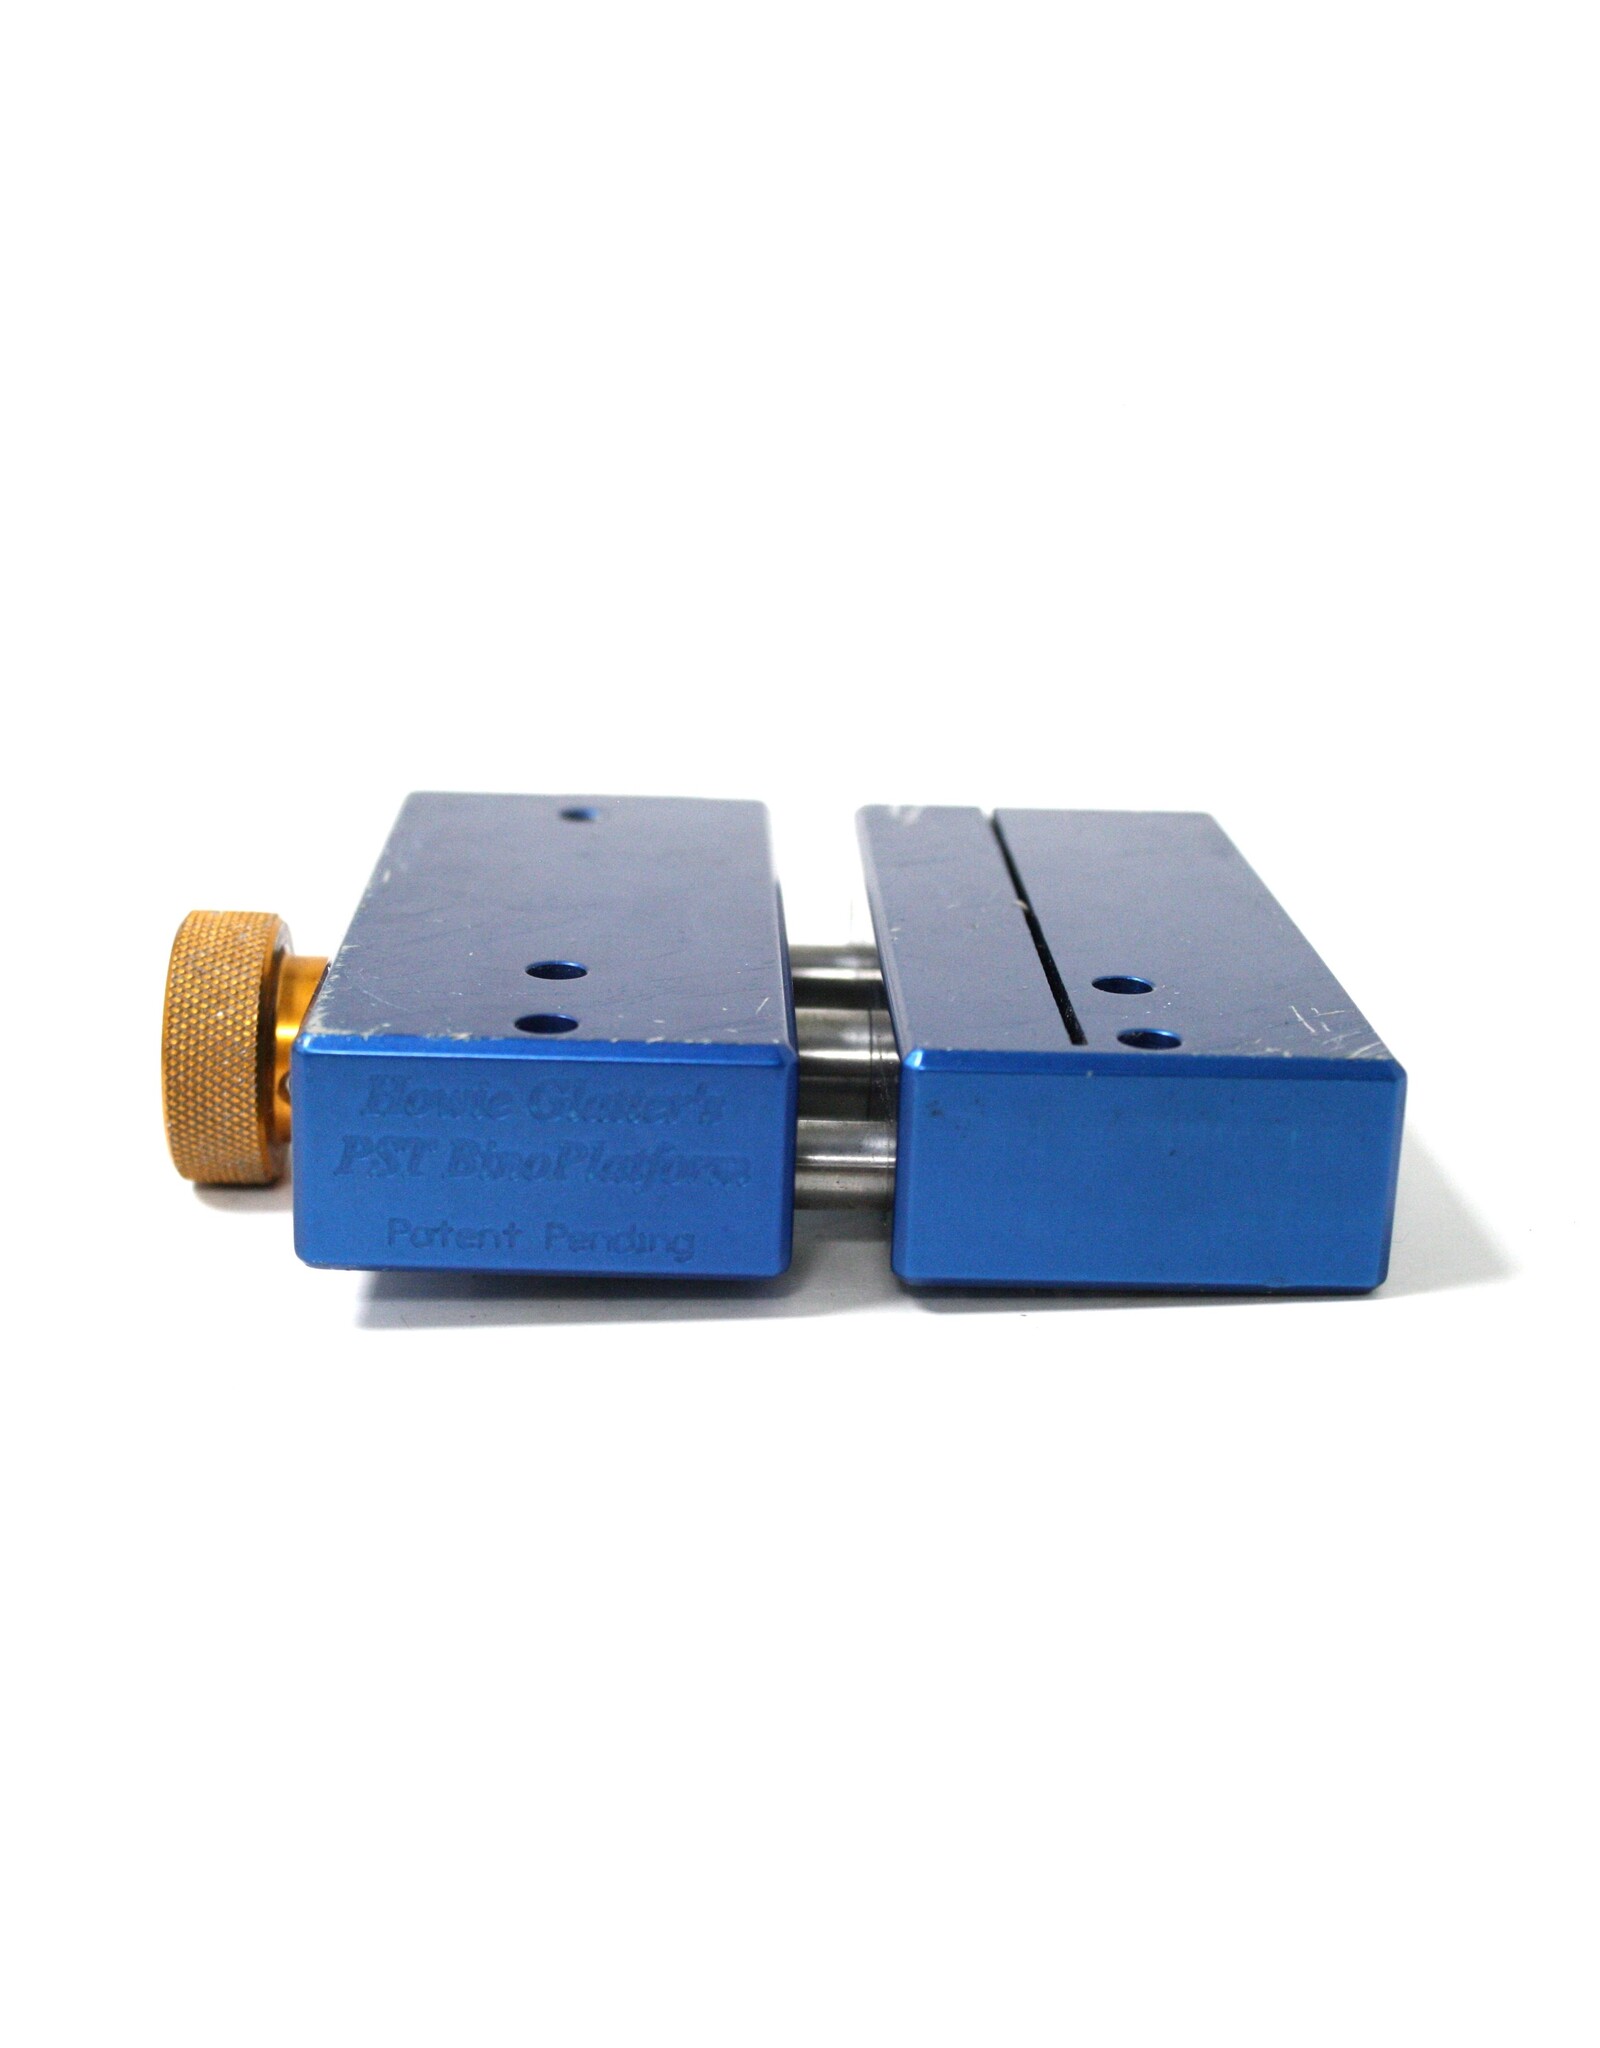
It will facilitate set-up if the bino-platform is first attached to the mount or tripod it will be used with, and then the telescopes attached to the platform. The platform is attached to the mount using the ¼”-20 threaded holes on the side or bottom surface of the left hand platform block. If you have a Microstar mount, attach it to the platform side holes with the supplied thumbscrews and washers.
The telescope mounting screws are held in place with scotch tape for shipping, so
remove this tape. A 3/16” hex wrench is packed with the platform and fits both the
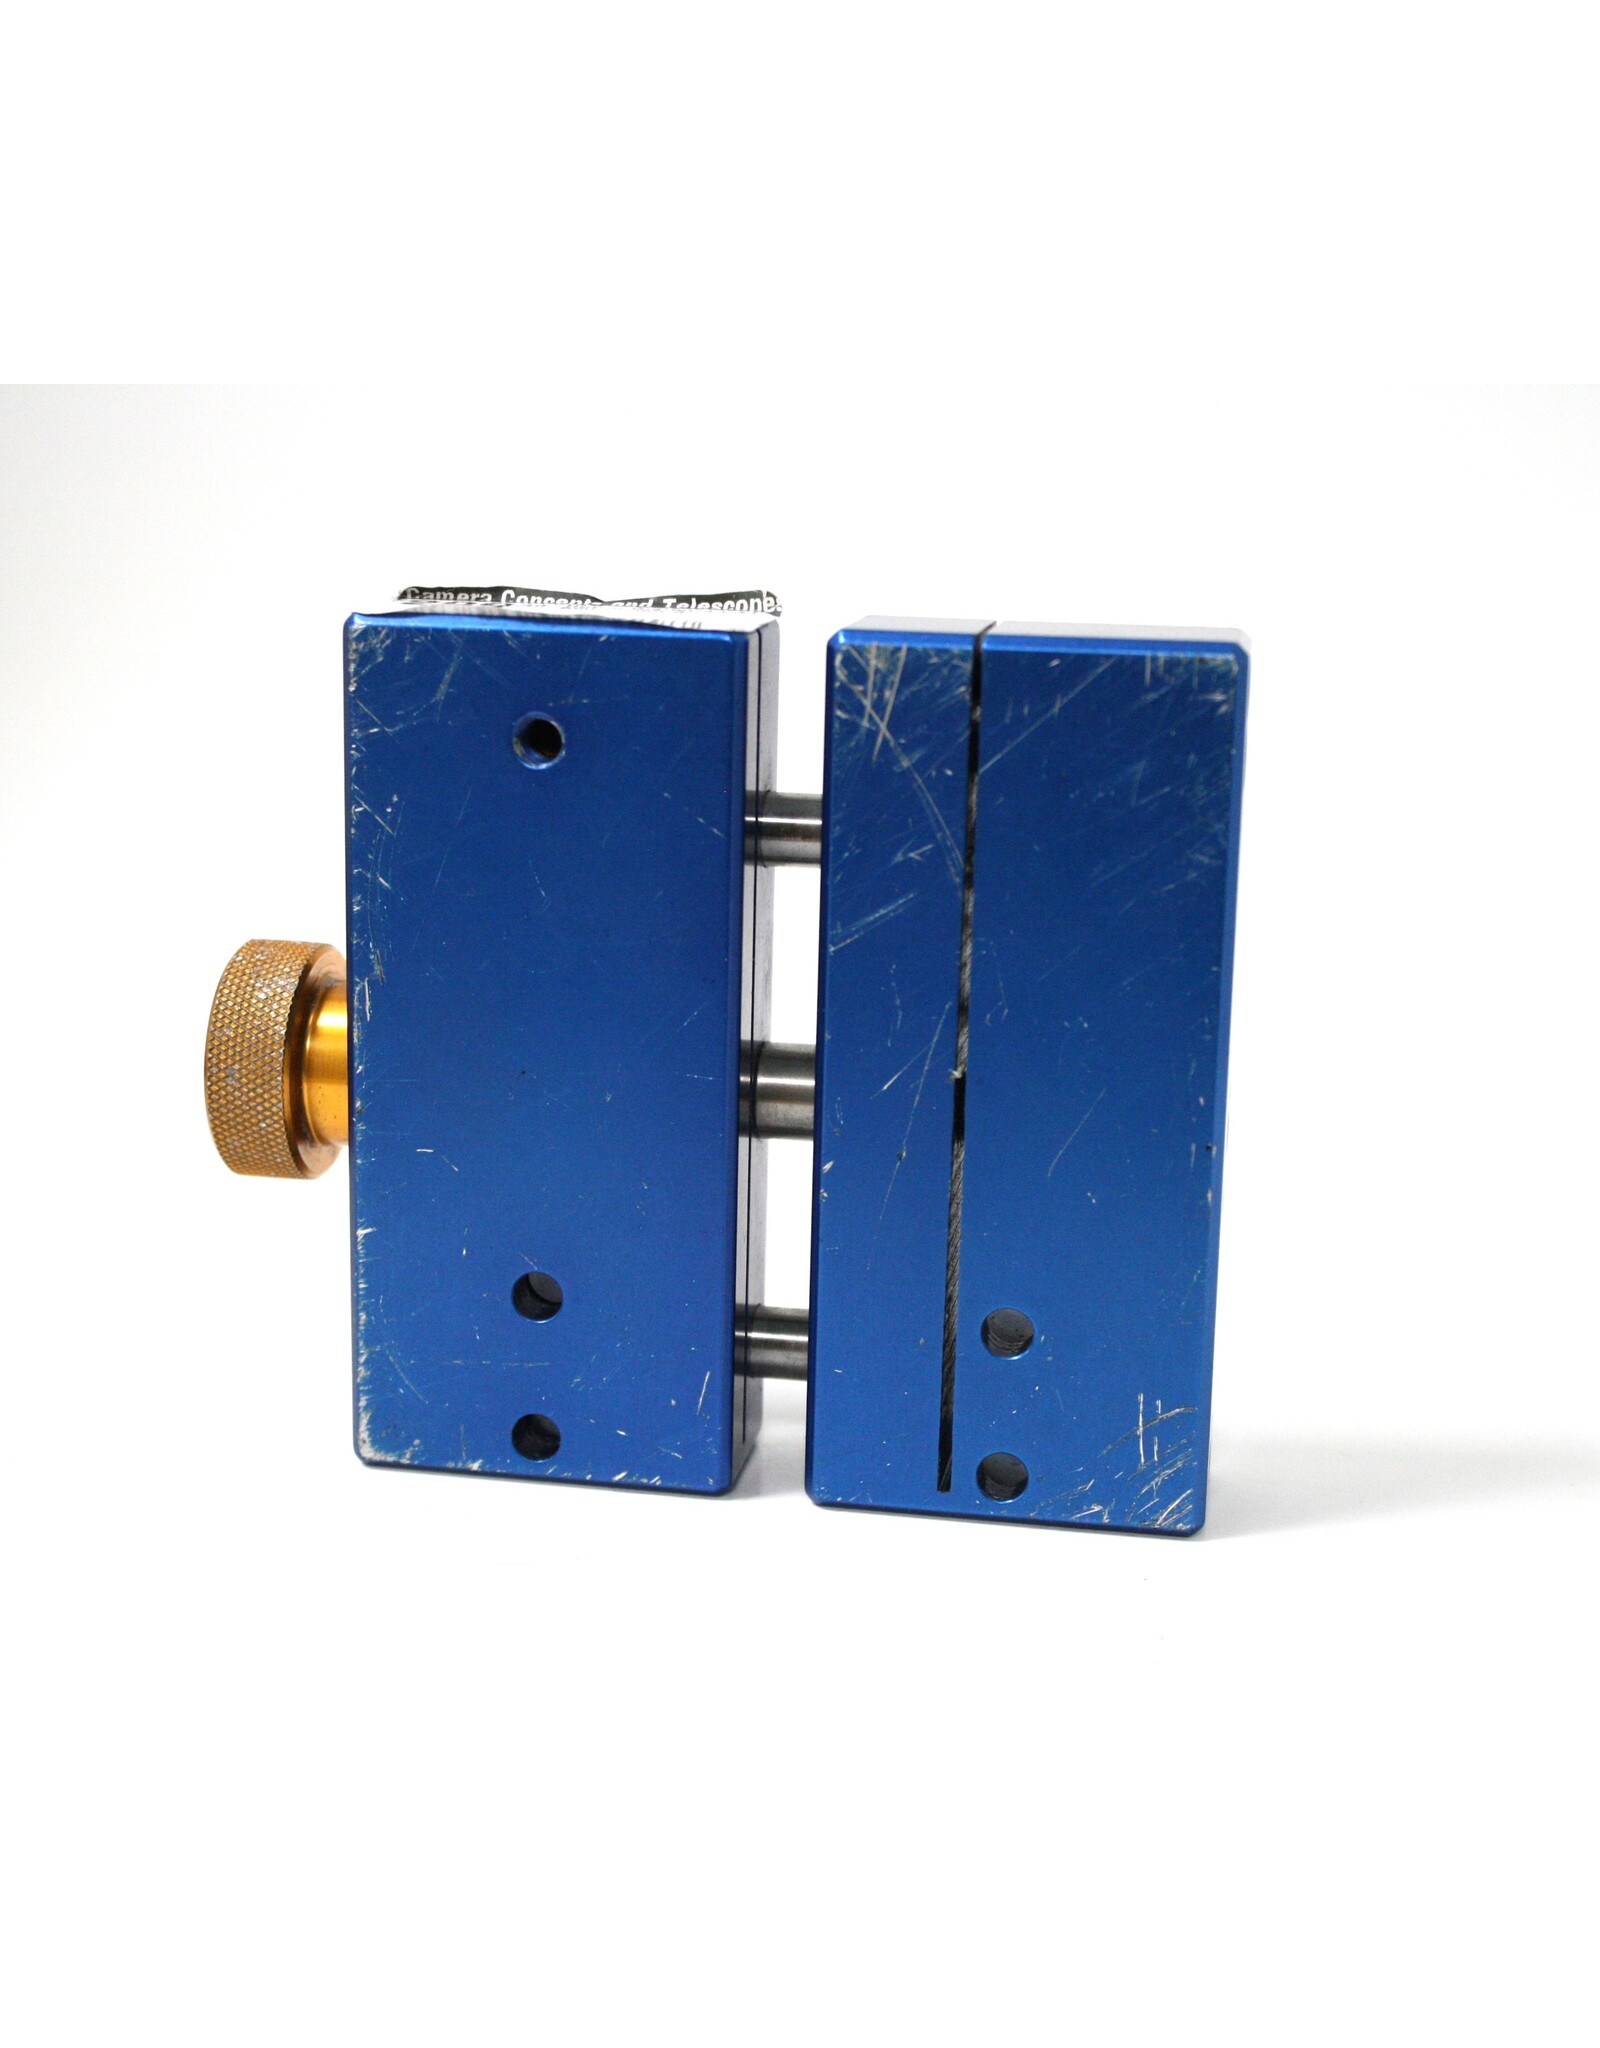
mounting screws and the collimation screws. Attach the telescopes to the platform blocks with
the mounting holes in front, snuging up the mounting screws so the telescopes will not shift on the blocks.
Collimating the Telescopes
Collimation will be more precise at higher magnifications, but it is not a necessity.
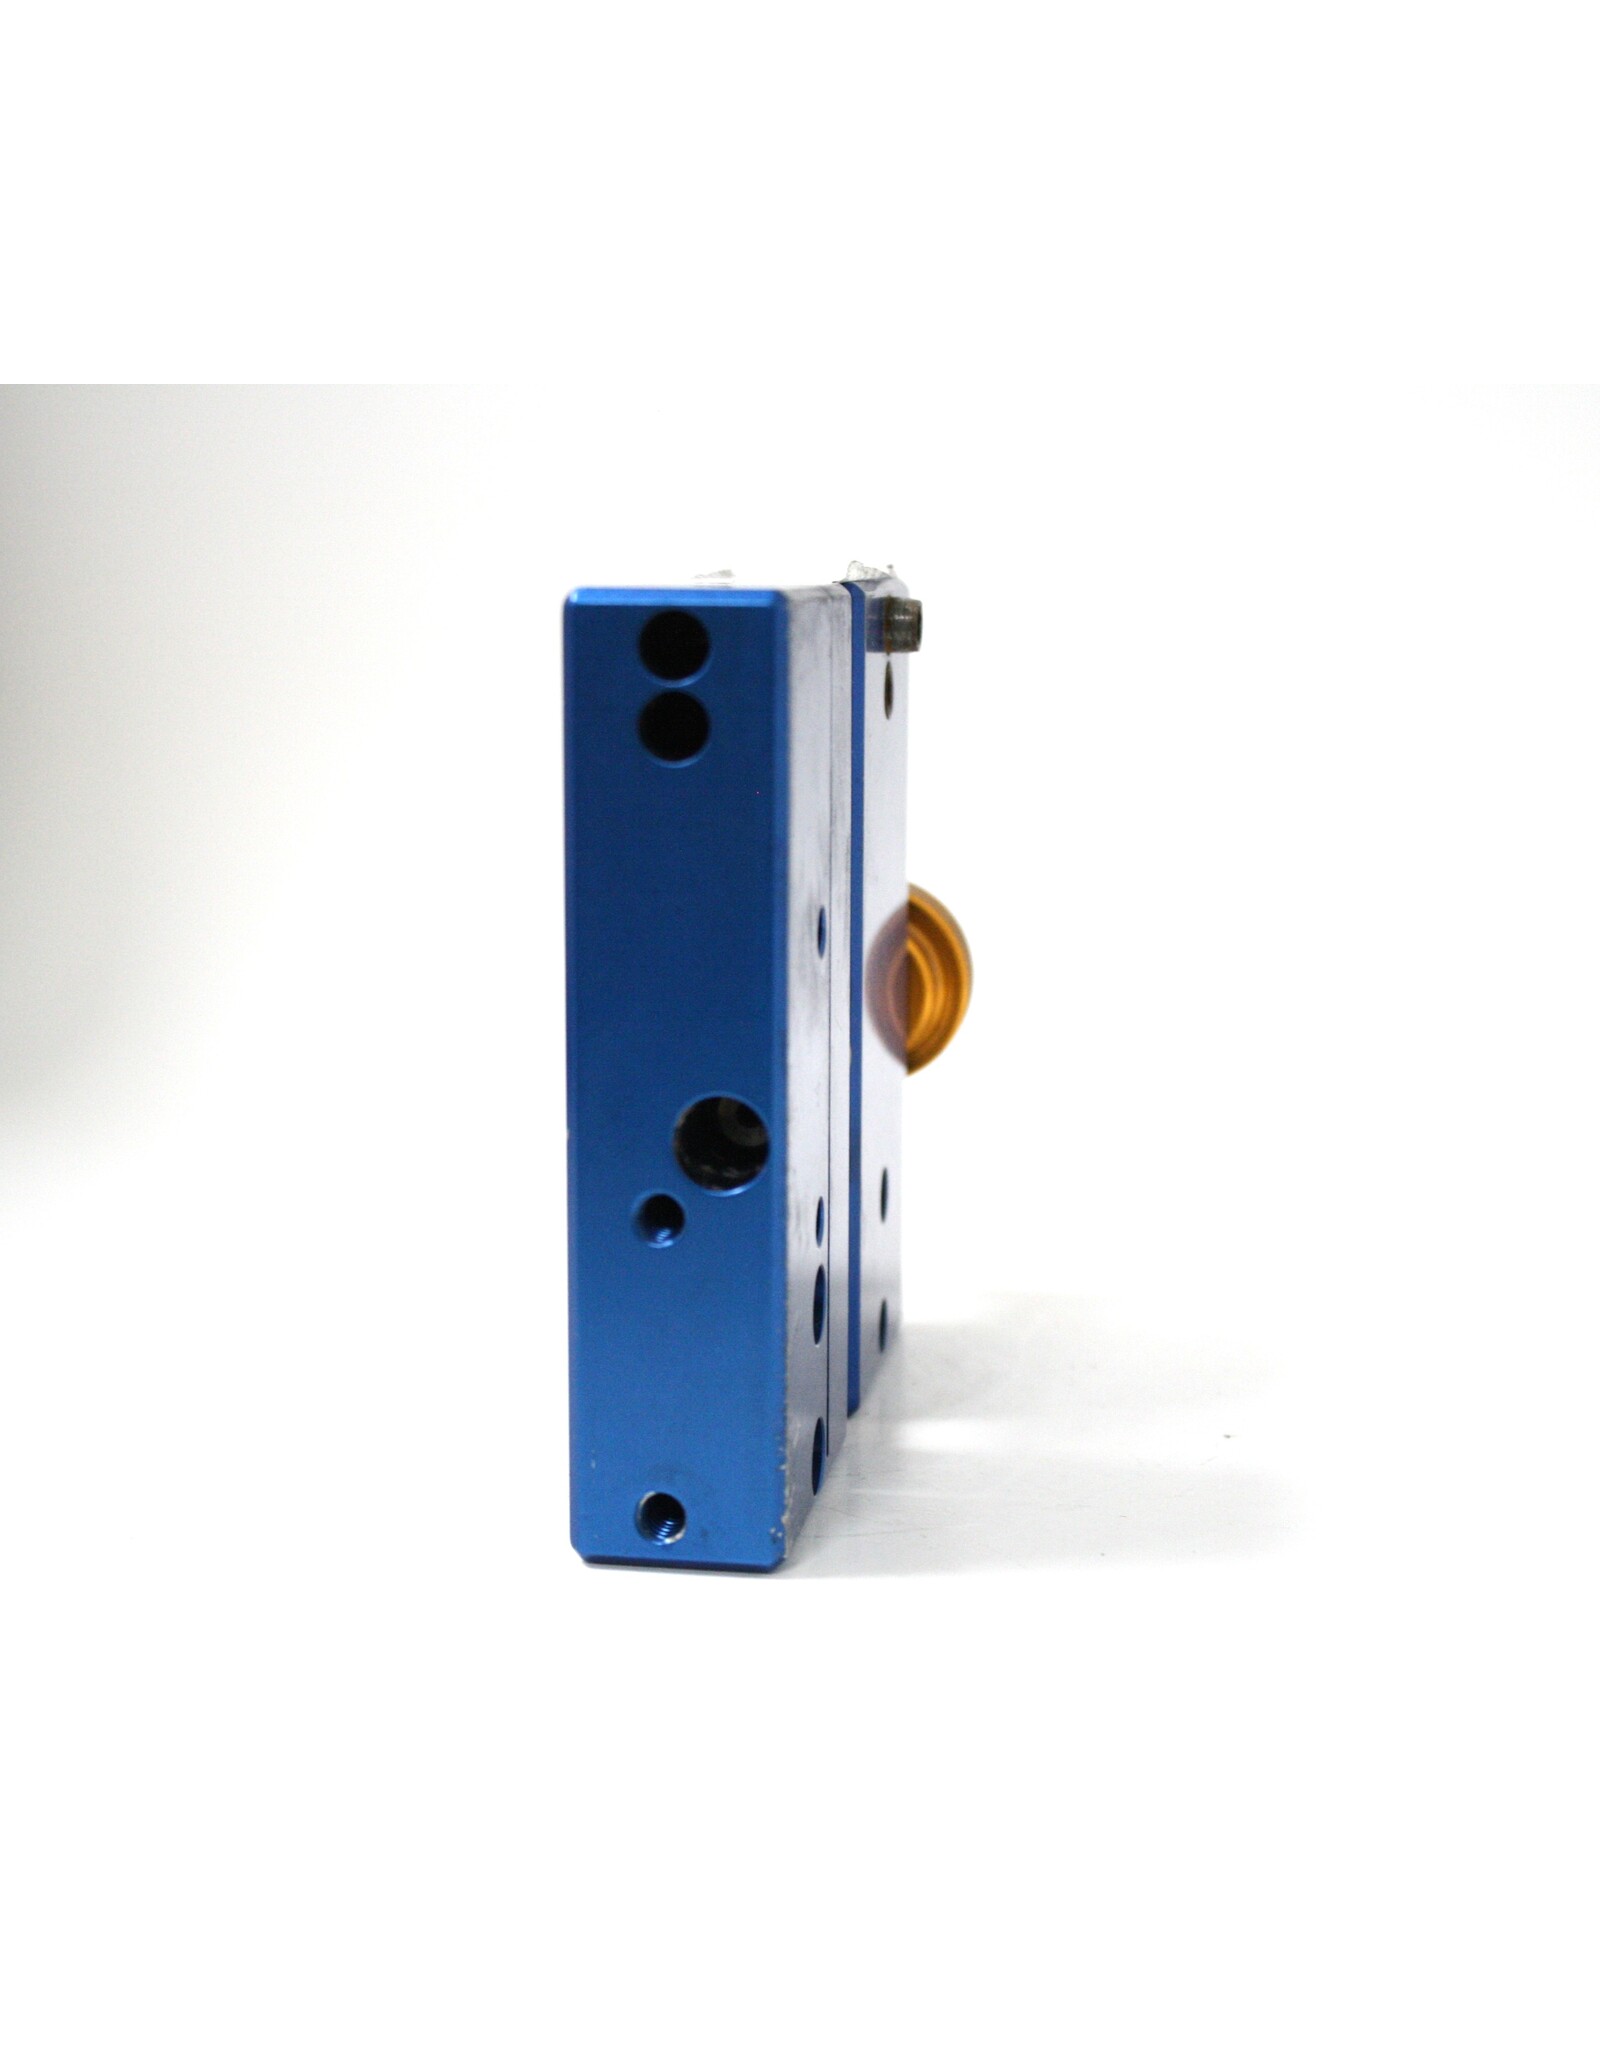
A black cloth over the head will help. Focus each telescope and then adjust the interpupilary distance with the right-hand knob for a comfortable binocular view. Each platform block contains a pair of push-pull collimation screws. The left block contains the horizontal collimation screws and the right block contains the vertical collimation screws. The collimation screws closest to you are the push screws, and the ones further forward are the pull screws. Adjust the screws to bring the solar images into coincidence. Each pair of screws should be brought to final adjustment by torqueing one screw slightly in opposition to the other. This will lock the adjustment. Once collimated, the telescopes will maintain collimation as the interpupilary distance is adjusted for different users.
Maintenance
Keep dirt and dust away from the moving parts. If necessary, the interpupilary adjustment
shaft, bearings, threads, and guide pins may be lightly lubricated.